How Do You Install PU Stone?

How do you install PU stone?
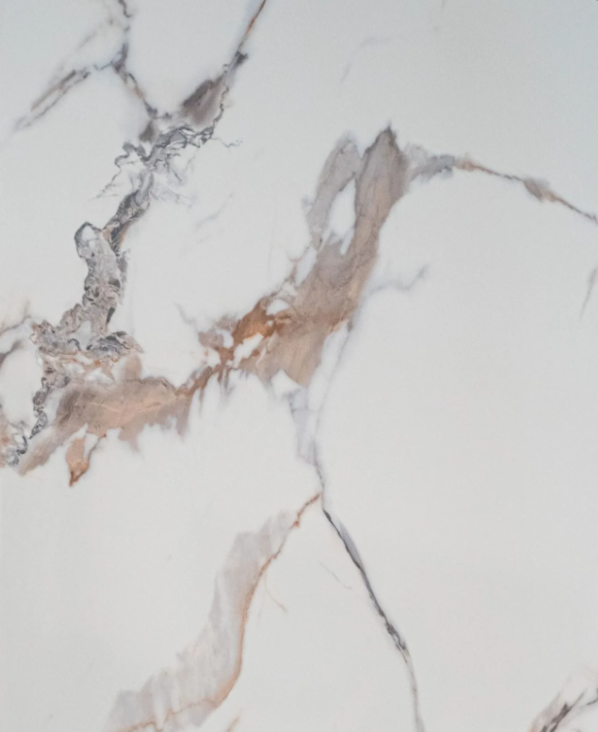
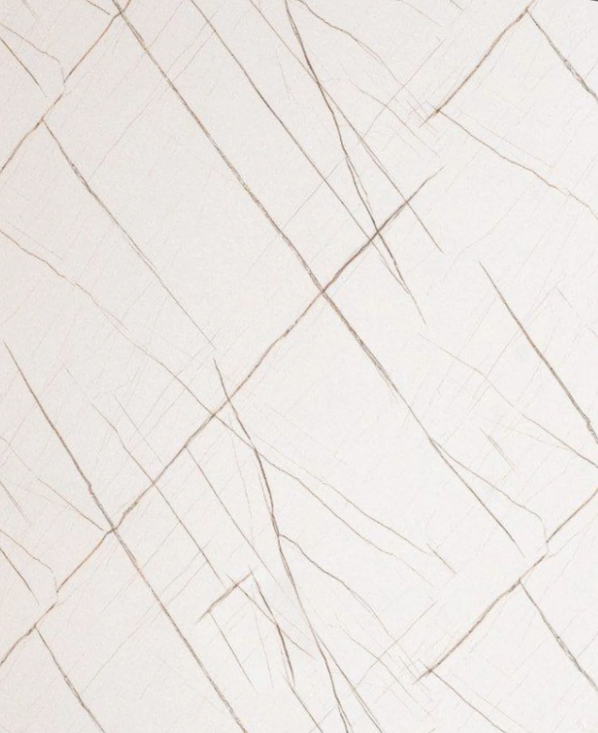
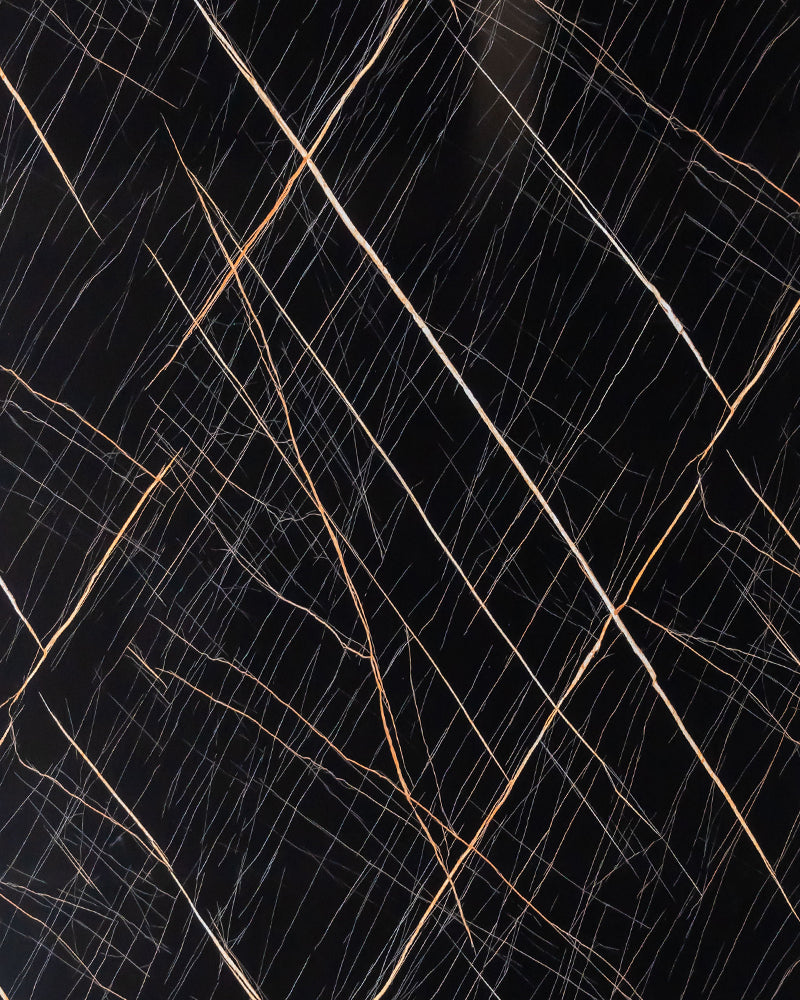
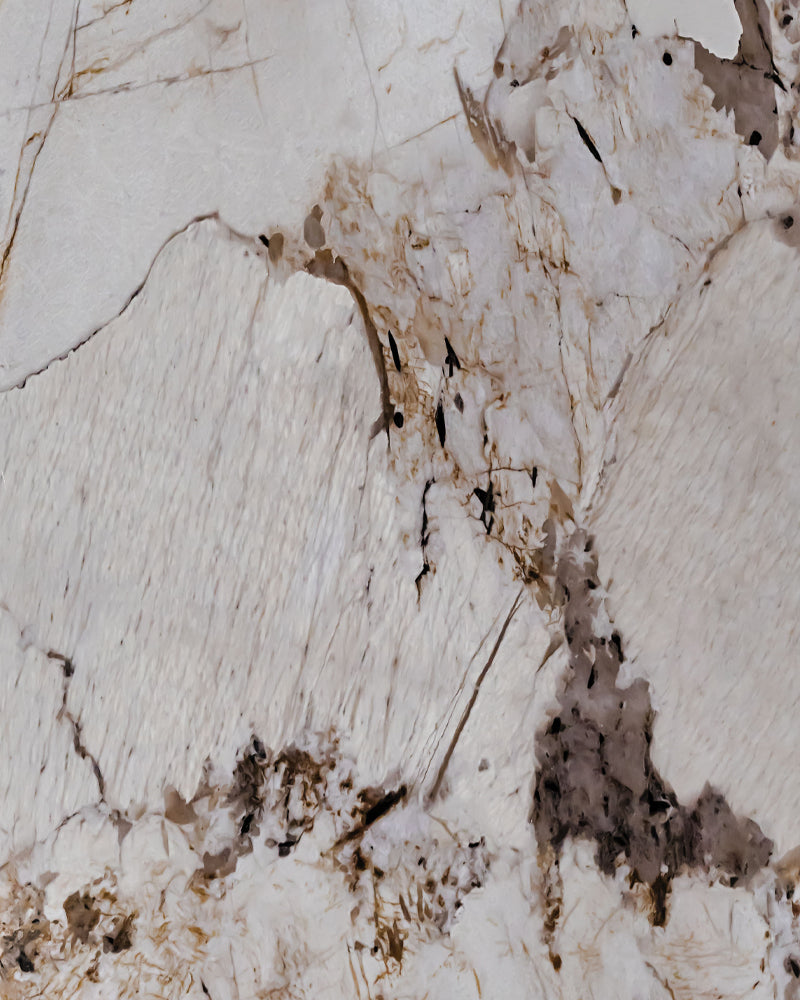
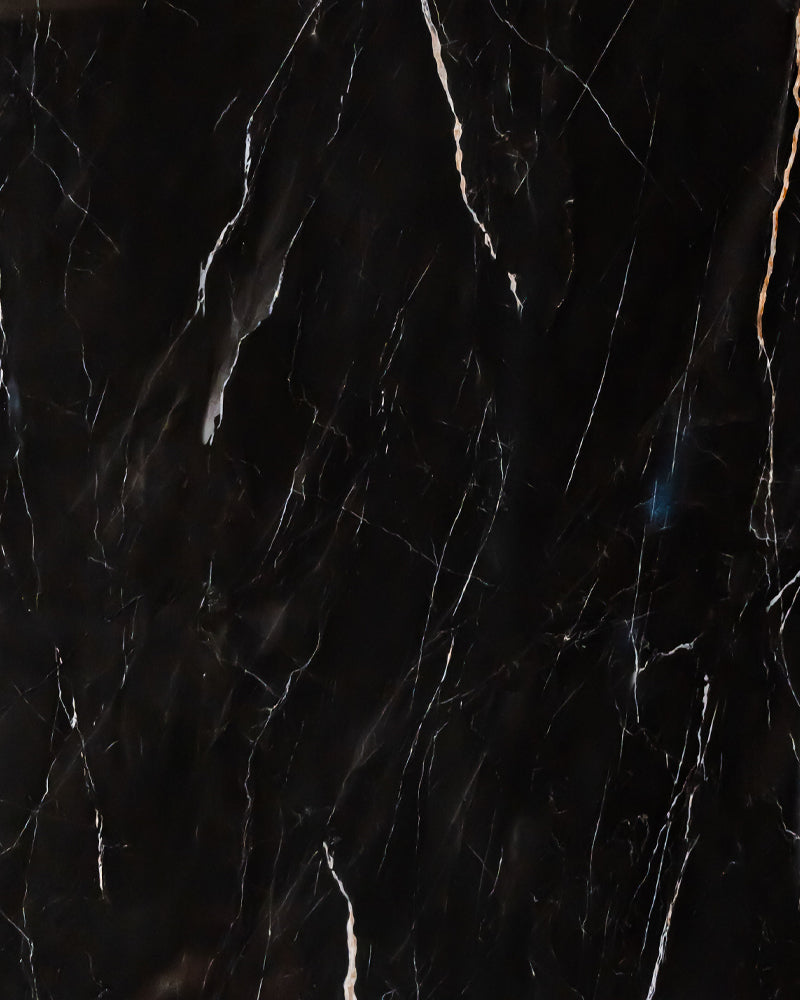
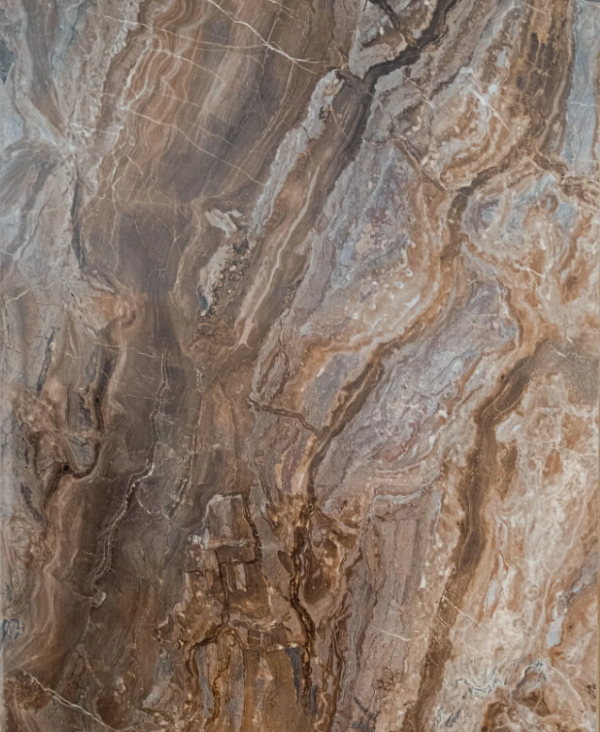
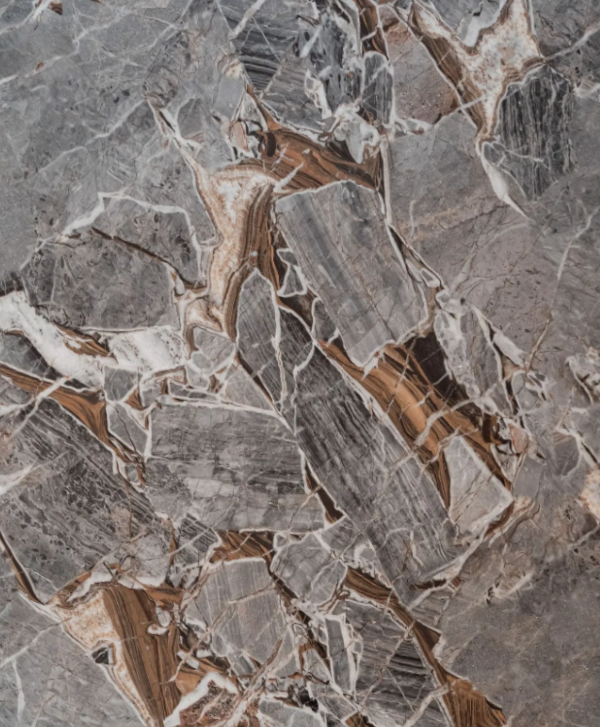
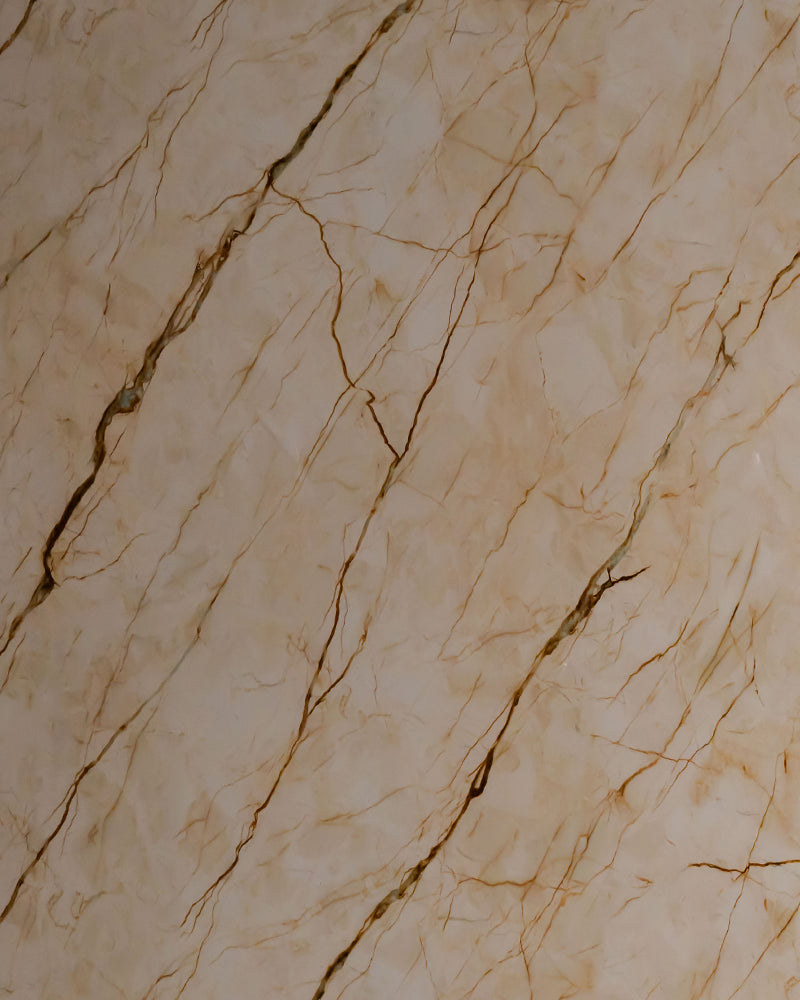
Installing PU stone can be a great way to enhance the aesthetics of your home or office space. PU stone, also known as polyurethane stone, is a lightweight and durable material that closely resembles natural stone. It is commonly used for exterior and interior wall cladding, as well as for decorative accent pieces. If you are considering installing PU stone, it is important to follow the proper installation procedures to ensure a successful and long-lasting result. In this article, we will discuss the step-by-step process of installing PU stone.
Step 1: Preparation
Before starting the installation process, it is important to gather all the necessary materials and tools. Here is a list of some of the items you will need:
- PU stone panels: Measure the area where you want to install the PU stone panels and purchase enough panels to cover the entire space. Make sure to account for any cuts or wastage during the installation process.
2. Adhesive: Choose a high-quality adhesive that is specifically designed for PU stone installation. Consult with a professional or the manufacturer to determine the most suitable adhesive for your project.
3. Caulk: Caulk is used to fill any gaps or seams between the PU stone panels. Select a caulk color that matches the color of the stone for a seamless finish.
4. Primer: Some surfaces may require a primer before applying the adhesive. Consult with the manufacturer or a professional to determine if a primer is necessary for your specific installation.
Once you have gathered all the necessary materials, it is time to prepare the installation area. Clean the surface thoroughly and make sure it is free from any dust, dirt, or grease. Repair any cracks or damages on the surface, ensuring a smooth and even base for the PU stone panels.
Step 2: Layout and Cutting
Before applying the adhesive, it is important to plan the layout of the PU stone panels. Start by measuring the area and mark the desired height and width of each panel on the surface. Use a level to ensure that the markings are straight and even.
Next, dry fit the panels without applying any adhesive. This will allow you to visualize the final result and make any necessary adjustments. If any panels need to be cut to fit around corners or openings, use a jigsaw or a circular saw with a fine-toothed blade. Always wear protective goggles and gloves when cutting the panels.
Step 3: Applying the Adhesive
Once you have determined the layout and made any necessary cuts, it is time to apply the adhesive. Follow the manufacturer''s instructions for your specific adhesive, as application methods may vary. Here is a general guideline for applying adhesive to PU stone panels:
- Apply a thin layer of adhesive to the back of each panel using a notched trowel. Make sure the adhesive is evenly distributed and covers the entire surface of the panel.
2. Press the panel firmly onto the prepared surface, starting from the bottom and working your way up. Use a level to ensure that the panel is straight and plumb.
3. Continue applying adhesive and installing the panels, making sure to leave a small gap of about 1/8 inch between each panel for expansion. Use spacers or shims to maintain the desired gap.
4. If any adhesive oozes out between the panels, immediately wipe it away with a damp cloth or sponge.
5. Allow the adhesive to dry according to the manufacturer''s instructions before proceeding to the next step.
Step 4: Sealing and Caulking
Once the PU stone panels are securely installed, it is important to seal and caulk the joints for a finished look. Follow these steps to seal and caulk the panels:
- Seal the panels: Apply a stone sealant or a clear polyurethane sealer to the entire surface of the PU stone panels. This will protect the panels from moisture and stains and enhance their color and durability. Follow the manufacturer''s instructions for the proper application of the sealant.
2. Caulk the joints: Fill any gaps or seams between the panels with a caulk that matches the color of the stone. Use a caulk gun to apply a thin bead of caulk along the joints. Smooth the caulk with a damp finger or a caulk smoothing tool for a neat and professional finish.
3. Allow the sealant and caulk to fully cure before exposing the PU stone panels to water or extreme temperatures.
Step 5: Maintenance and Care
Proper maintenance and care are essential to ensure the long-term beauty and durability of PU stone panels. Here are some tips to keep in mind:
- Regular cleaning: Clean the PU stone panels with a mild detergent and water solution using a soft brush or cloth. Avoid using abrasive cleaners or scrub brushes that can damage the surface.
2. Avoid harsh chemicals: Avoid using harsh chemicals or solvents on the PU stone panels, as they can cause discoloration or damage.
3. Inspect for damages: Regularly inspect the PU stone panels for any damages or loose pieces. Repair or replace any damaged panels immediately to prevent further issues.
4. Protect from direct sunlight: Excessive exposure to direct sunlight can cause fading or discoloration of the PU stone panels over time. Use UV protective coatings or install shade structures to minimize sun exposure.
5. Follow manufacturer''s guidelines: Always follow the manufacturer''s guidelines for cleaning, maintenance, and any other specific instructions related to your PU stone panels.
Conclusion
Installing PU stone can be a rewarding project that adds elegance and character to any space. By following the proper installation procedures and taking care of the panels, you can enjoy the beauty and durability of PU stone for years to come. Remember to consult with professionals or the manufacturer if you have any specific questions or concerns about your installation project.
